Often times we have a need to allow our kids to use a shared PC, the same being used by other members in the house using the same common login.
Although, my first suggestion will be to create a separate account (hotmail or outlook.com) email id for your kids and then use the same to login to the PC, but if in some scenario it’s not possible, then at least provide them with a clean and secure interface which can be disposed of once the work is completed.
Enter Windows Sandbox. Its already part of OS on Windows 10 Pro and Windows 11. It runs like a Virtual PC on the same Laptop or desktop you are currently using. There are many benefits of using Sandbox
- Brand-new: Every time you launch Sandbox, it runs like a new installation of Windows
- Disposable: Nothing is saved on it. Everything is deleted when Sandbox is closed.
- Secure: It uses hardware based virtualization and hypervisor to keep it isolated from host. So essentially it can run as a totally different desktop with no interaction with the host PC.
- Efficient: It manages the memory usage automatically.
There are a few pre-requisites to be able to use the feature. You need to be using
- Windows 10 Pro or higher version. Windows 10 Home will not do.
- Virtualization enabled.
- At least 4GB of RAM or memory
- At least 1 GB free disk space
- At least 2 core CPU
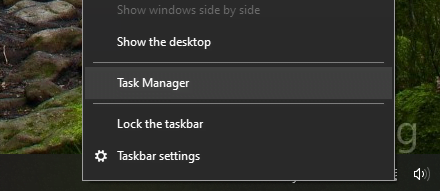
Launch task manager by right clicking on the task bar and selecting Task Manager and in Windows 11, by right clicking on the Start button.
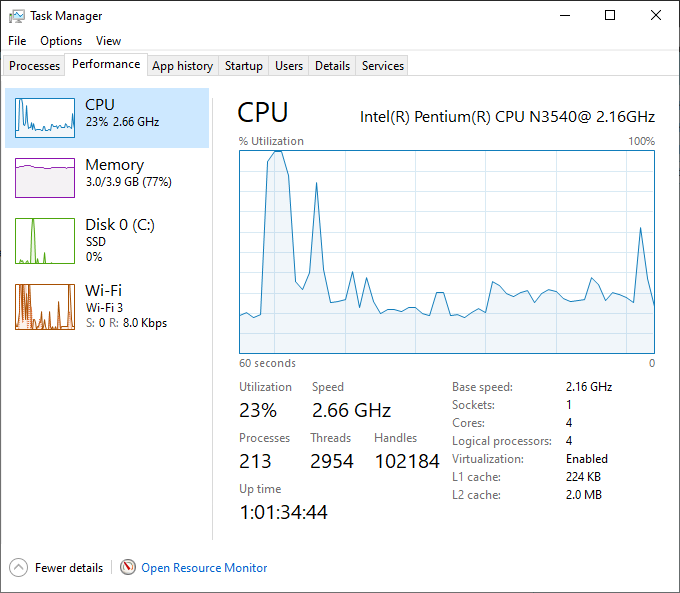
Using Task Manager performance tab, you can confirm how much RAM your PC has and if Virtualization is enabled or not.
For finding out the Windows version, type version in the Start Menu search box, and open ‘System Information’. Just in case, Virtualization is shows as disabled, then you’ll have to enable this in BIOS. Check your PC manufacturer documentation on how to enable this in BIOS.
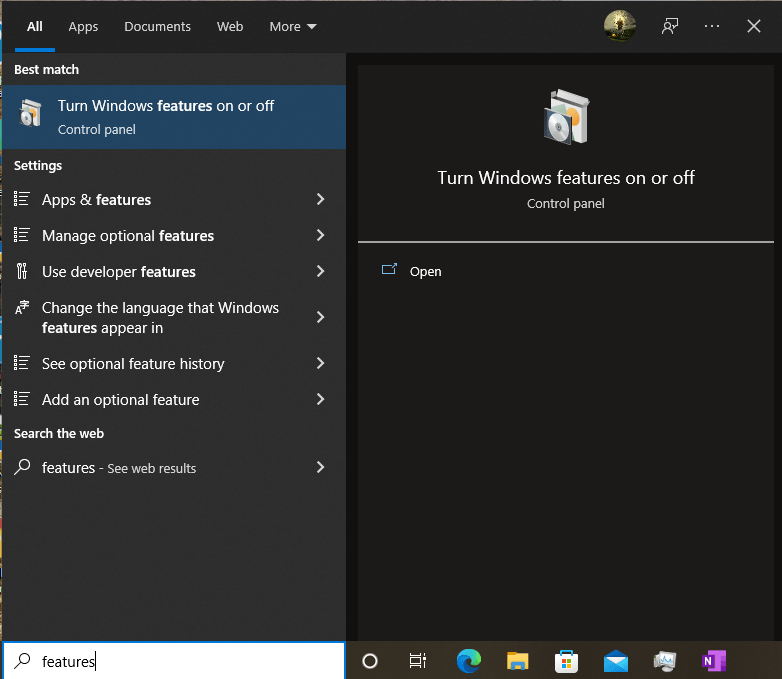
Now again go to the Search Box in the Start Menu and type ‘Turn Windows Features On or Off’ and click on Open
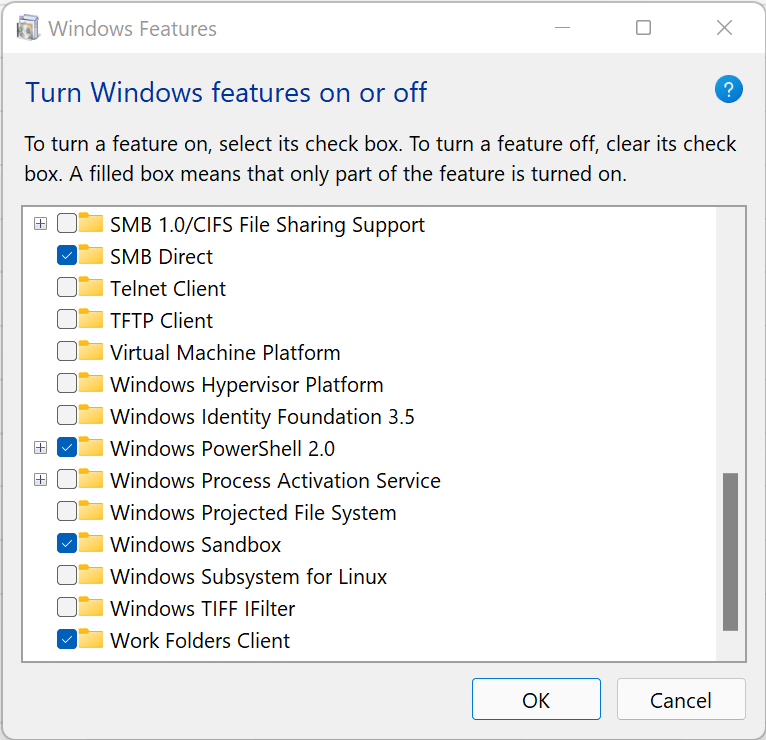
In the Windows Features box, scroll down to select Windows Sandbox., Click Ok to install. If its not in the list, then your PC does not support it.
Once installation completes, there might be a need to restart the PC and will be indicated. After restart, look for Windows Sandbox in the Start Menu and launch.
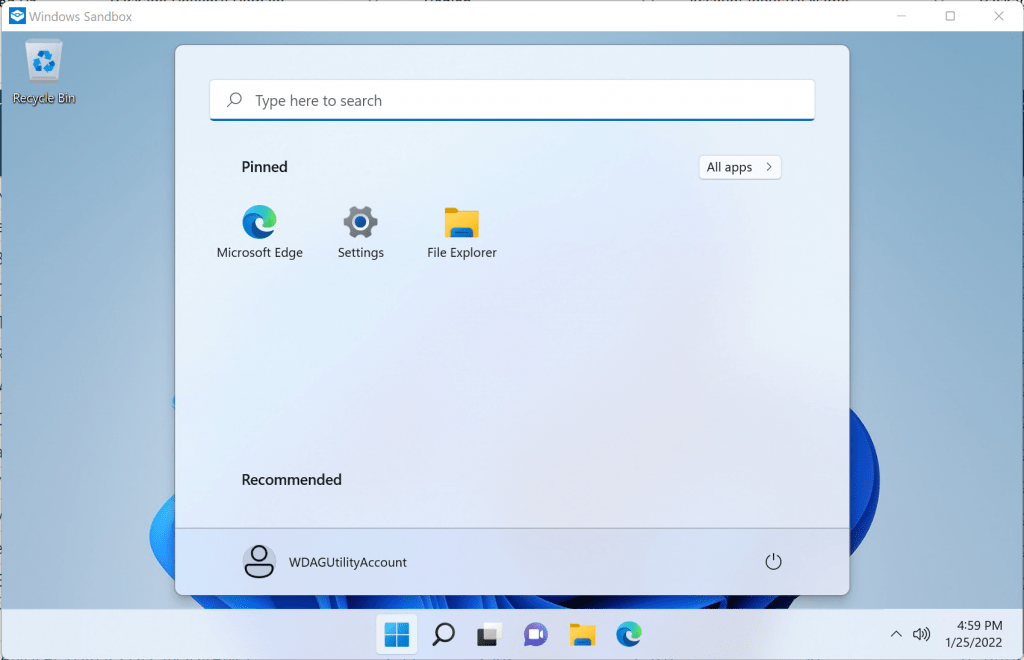
Here I have launched Sandbox on Windows 11 and a clean, new instance of Windows 11 Sandbox has started. On windows 10, it will a Windows 10 Sandbox.
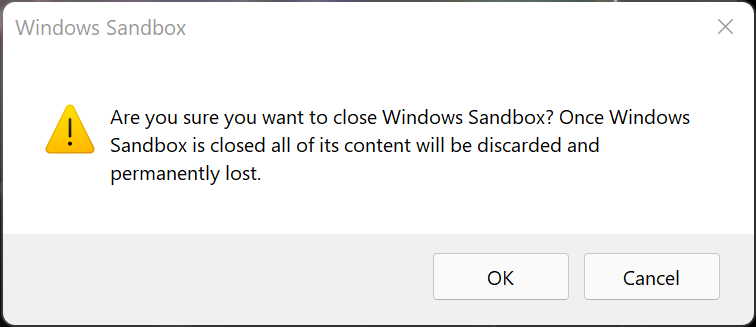
This Sandbox can be used by your kids to explore and do their homework etc. without making any changes to your main PC. Once the Sandbox closes, nothing is saved and a brand new clean one is launched every time. You’ll see a message as below when trying to close it.
There are some configuration changes you can make to customize the Sandbox when it launches. For example, configuring how much RAM can be used, disabling networking, copy paste operation from main PC, installing a program when launching and enabling Virtual GPU among others.
This can be done by creating a file with .wsb extension using notepad or similar editing app. A sample file is shown below. Once created, you can launch Sandbox by double clicking on this file.
<Configuration>
	  <VGpu>Enable</VGpu>
	  <Networking>Disable</Networking>
	  <LogonCommand>
	  <Command>explorer.exe C:\users\WDAGUtilityAccount\Downloads</Command>
	  </LogonCommand>
</Configuration>
In this file, Virtual GPU is enabled, a logon command will launch explorer.exe when starting Sandbox and Networking is disabled. Full details on available options is available at Microsoft Docs.
Thanks for reading and do share your feedbacks.