A lot of kids nowadays have access to devices like a tablet, laptop or smartphone. After the pandemic lockdown’s and school’s moving the classes online, children have no option but to spend 4-5 hours every weekday attending online classes. But this also brings a scare to know that your child has unrestricted access to the internet.
Parental Control apps like Microsoft Family Safety allows to monitor the child’s activity as they browse the internet or use installed apps. You get options to restrict or block screen time and also to filter websites and allowed apps.
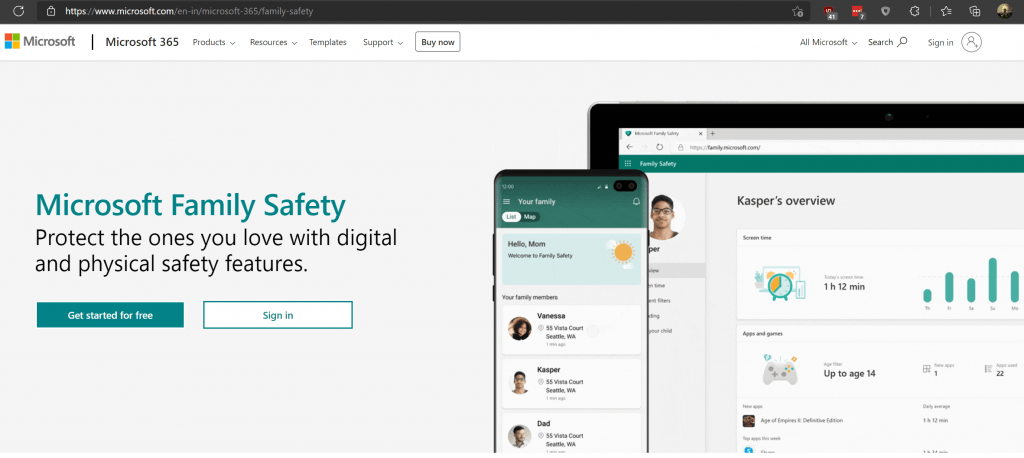
This is a free service and is available on Windows 10 machines and Android phones. If you have a paid subscription to Microsoft 365 (formerly Office 365), there is an additional benefit of getting location alerts from machines or phones which have GPS enabled. Keep reading to find out how to setup the service.
Getting Started
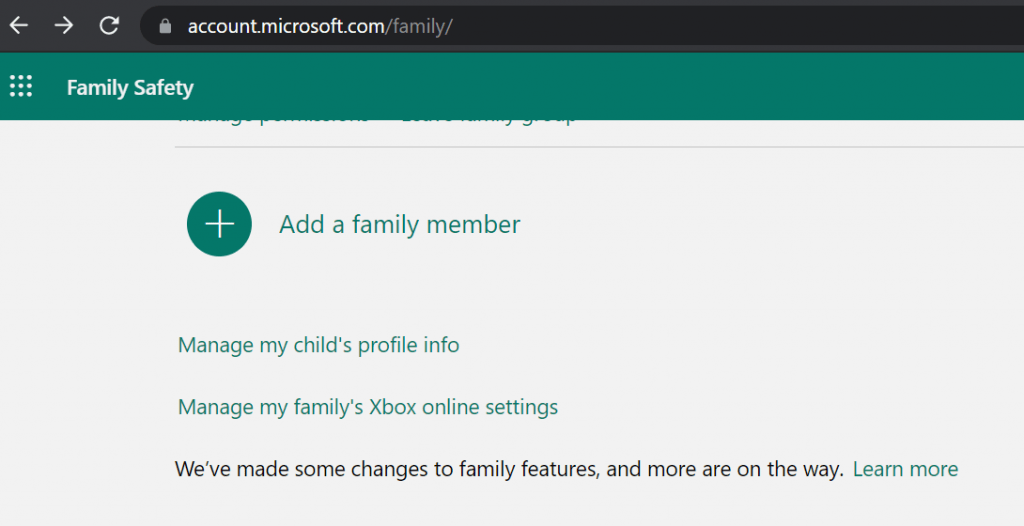
Go to your own Microsoft account settings and then the family page (https://accounts.microsoft.com/family) and click on Add a Family Member
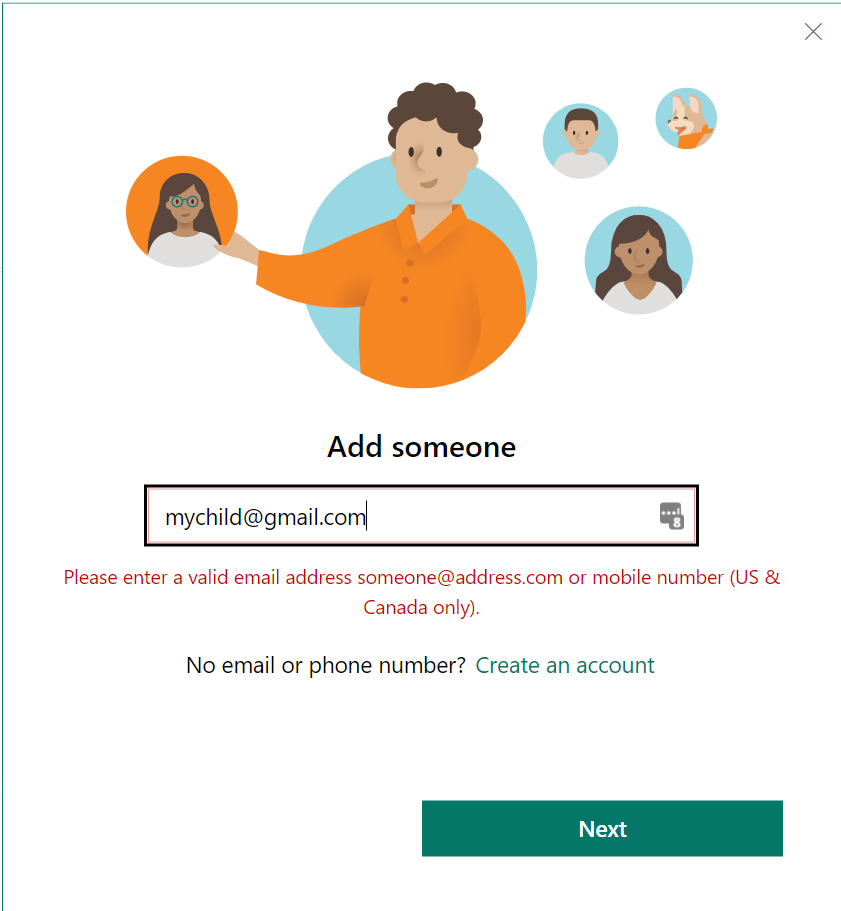
At this point, write the email address of your child or create a new one. Click next.
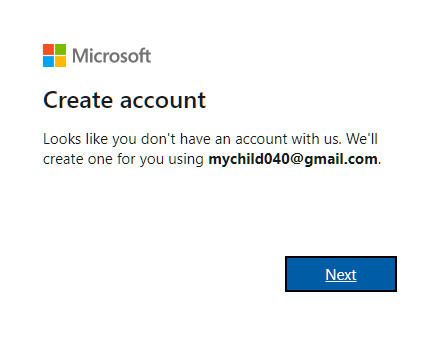
You can use any existing email address here, Gmail, Yahoo or others.
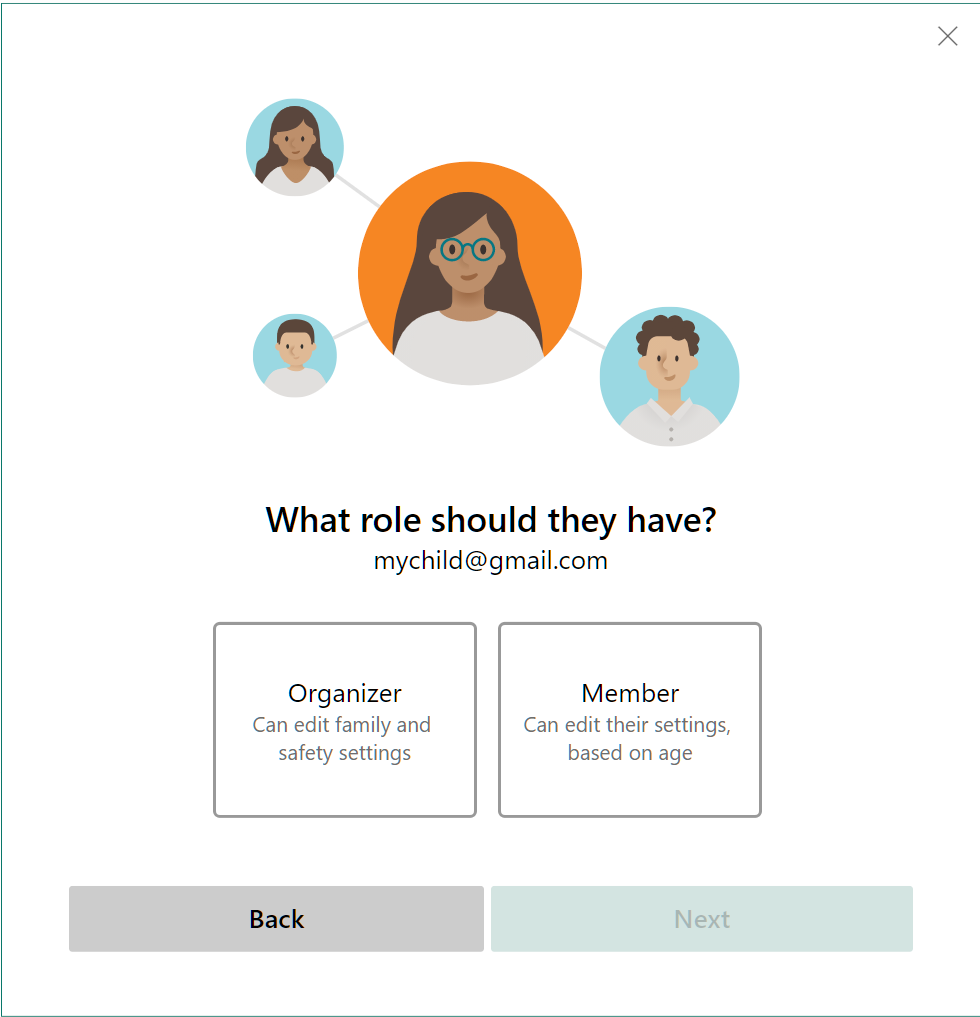
Select the role type ‘Member‘.
On the next screen, click on Invite and you’re done with this part.
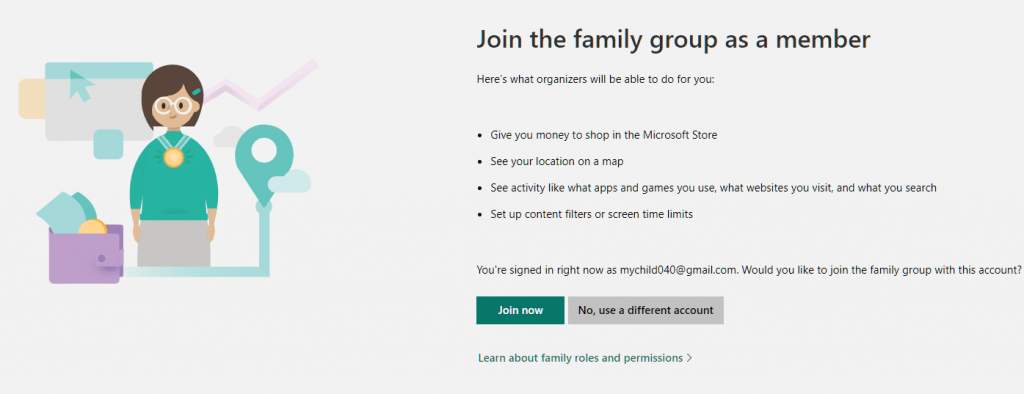
Accept Invite from your Child’s account
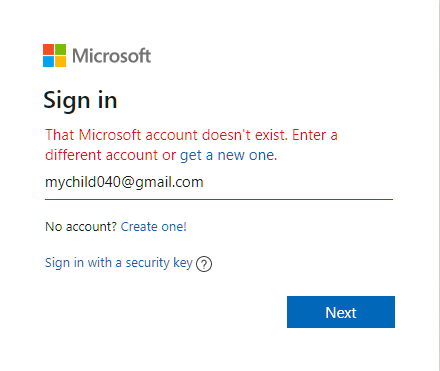
From your child’s email accept the invite to Join the family group.
If the email is non-Microsoft (not Hotmail, Outlook or Live.com) then you’ll see a similar prompt as below. Go ahead and click on ‘get a new one’ to proceed.
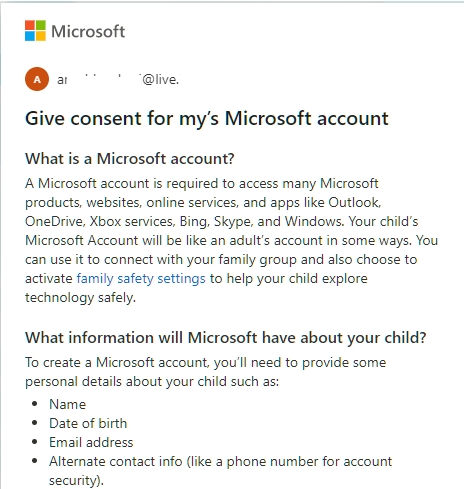
You don’t need to put in the real birthdate, but birthyear should classify as a child, as age defines the policies you can enforce.
You should select Country/Region as United States, EU, South Korea or Brazil. This is needed to enforce Parental consent for child accounts. Without this, your child can login to his account profile, change the Birthyear and remove all restrictions you have in place.

If the Birthyear defines the age as a Child, the below prompt will ask to provide Parental consent.
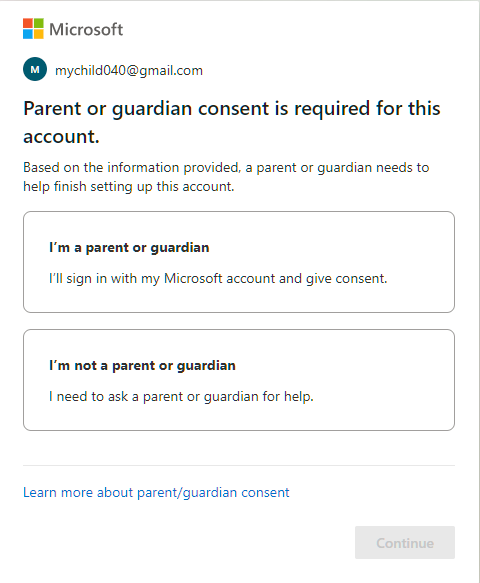
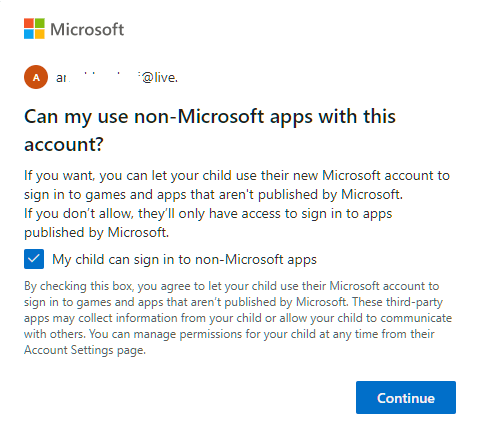
Agree on the below prompts for providing consent.
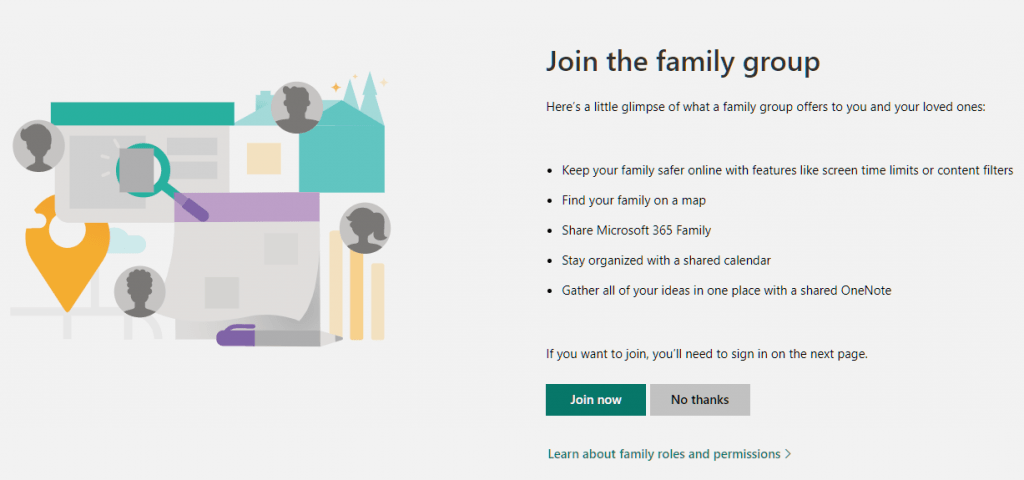
Accepting Invite
From your child’s email account, open the invite email, and click on Join. Login with your child’s Microsoft account, which in this case has a Gmail address. Click Join Now.
Getting setup on Windows 10
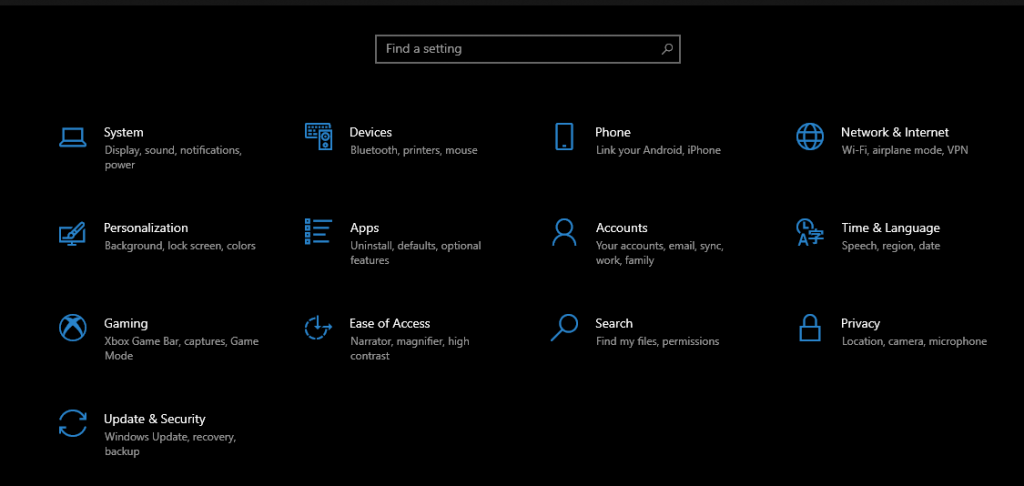
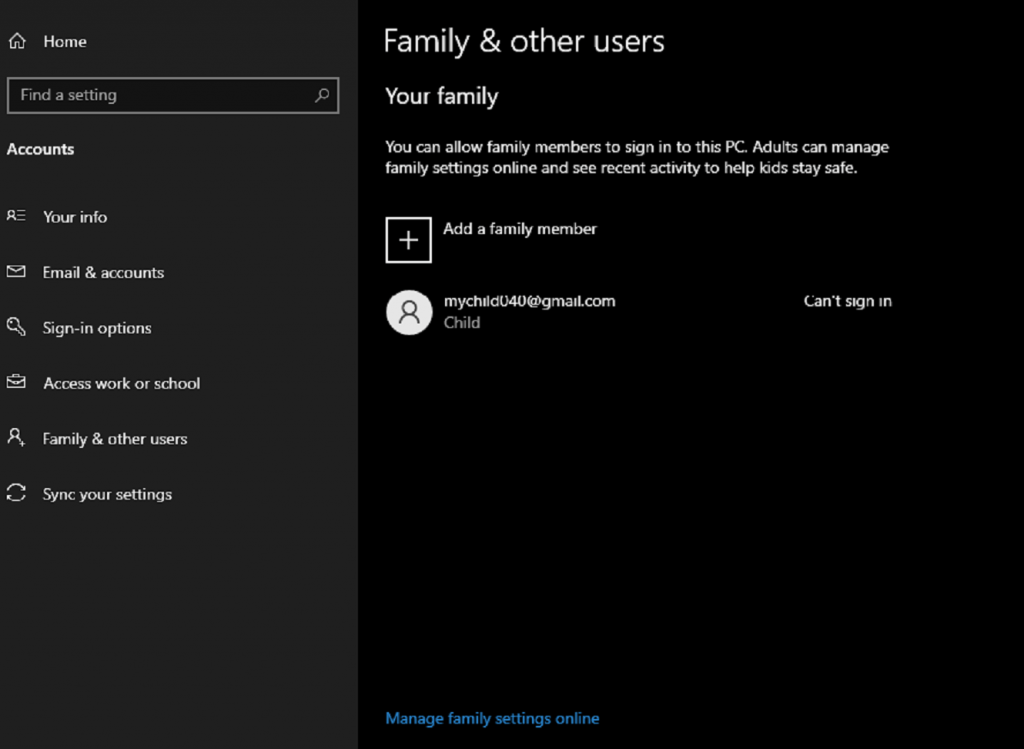
Ensure you’re logged in with your own Microsoft account to Windows 10. Go to settings and then open ‘Accounts’.
This assumes that your account is administrator on the Windows 10 device, and your child will be using the same device. Make sure your child is not already an admin on the same device.
You should already see the family or your child’s account showing up on the list with the setting ‘Can’t sign in’.
Click on the account and then click on ‘Allow’.
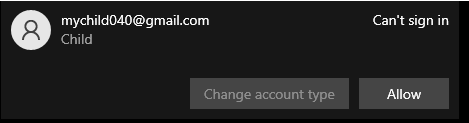
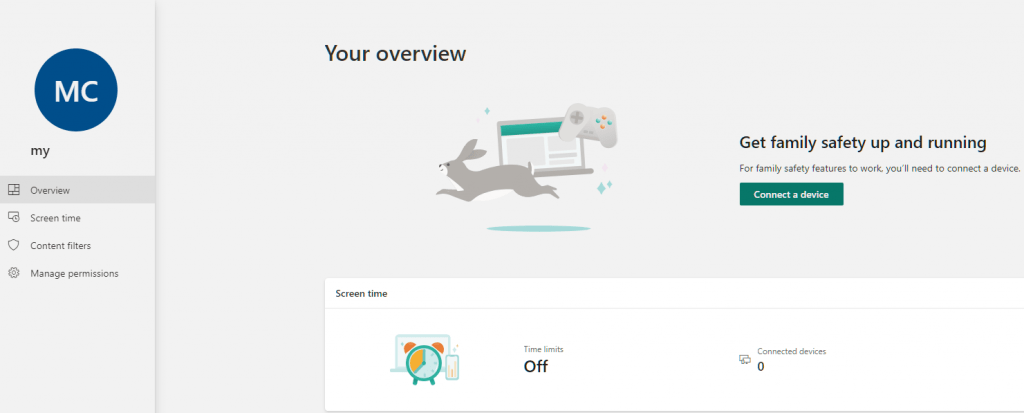
At this point you can login with the child account Windows with their Microsoft account. You can now explore the Family settings by logging in to your account on https://account.microsoft.com/family
In Part 2 of this post, I’ll show the various settings and policies that can be used to safeguard the online time your child is spending.
Thanks for reading.
2 Replies to “How to protect kids when online using Microsoft Family Safety – Part 1”